Integration for iOS
The following describes the necessary steps to integrate Size Adviser into an iOS application.
Resources
- App Identifier - Provide us your app id.
- Documentation - Complete guide for integration.
- Sample usage - Review how to use
- Visual customization - Check visual customization options
- Sample App - Download a sample app
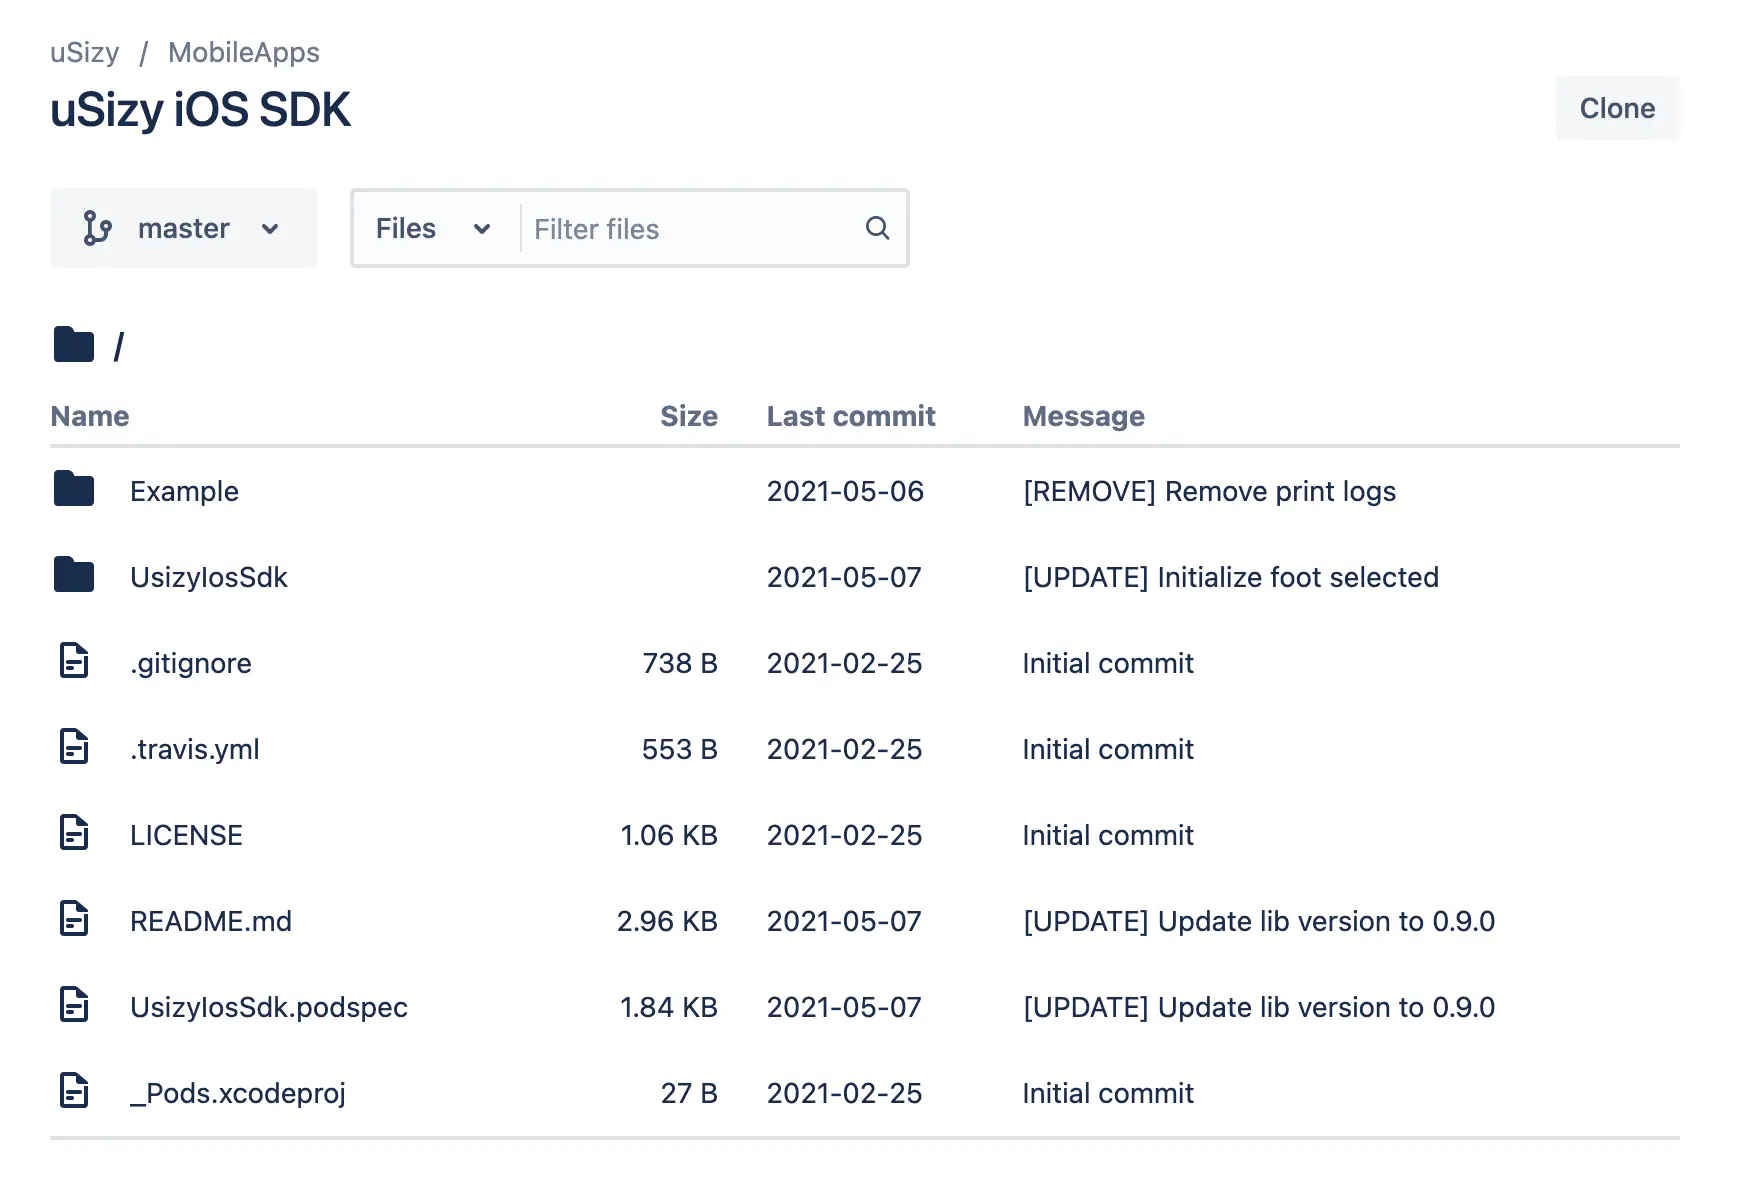
- Our respository - Clone it and integrate it.
App identifier
In order to enable your app integration you must provide us with your APP identifier, you can check it in the following link https://developer.apple.com/help/account/manage-identifiers/register-an-app-id
Documentation
Requirements
Apple requires compliance with best practices and up-to-date technology in order to deliver the best performance to its users.
For this reason, the minimum requirements for Size Adviser on iOS are as follows:
- iOS 10.0+
- Xcode 12+
- Swift 5+
Installation
UsizyIosSdk is available through CocoaPods. For more information about using CocoaPods with your app, see the CocoaPods Getting Started Guide. Make sure you have the CocoaPods gem installed on your machine before attempting to install any pods.
To install it, simply add the following line to your Podfile:
pod 'UsizyIosSdk', :git => 'https://bitbucket.org/usizy/usizy-ios-sdk.git', :tag => '0.10.0'
Navigate to your project folder in a terminal window, and run the following command:
pod install
Usage example
Add UsizyButton in the IB and configure it:
import UIKit
import UsizyIosSdk

@IBOutlet weak var btUsizy: USizyButton!

class ViewController: UIViewController {

    override func viewDidLoad() {
        super.viewDidLoad()

        let config = UsizyButtonConfiguration()
        config.productId = "<PRODUCT_ID>"
        btUsizy.initialize(config)
    }
}
Or add UsizyButton in the layout and configure it
import UIKit
import UsizyIosSdk

class ViewController: UIViewController {

    override func viewDidLoad() {
        super.viewDidLoad()

        let btUsizy = USizyButton()
        btUsizy.center = self.view.center

        let config = UsizyButtonConfiguration()
        config.productId = "<PRODUCT_ID>"
        btUsizy.initialize(config)

        self.view.addSubview(btUsizy)
    }
}
Identify the user or use anonymous (Optional)
config.user = "AnonymousUser"
You may customize the logo (Optional)
config.logoResName = "<XCASSETS_IMAGE_NAME>"
You may customize the icon (Optional)
config.iconResName = "<XCASSETS_IMAGE_NAME>"
Add delegate to recover the recommended size (Optional)
import UIKit
import UsizyIosSdk

class ViewController: UIViewController, UsizyButtonDelegate {


    override func viewDidLoad() {
        super.viewDidLoad()

        let btUsizy = USizyButton()
        btUsizy.center = self.view.center

        let config = UsizyButtonConfiguration()
        config.productId = "<PRODUCT_ID>"
        btUsizy.initialize(config)

        self.view.addSubview(btUsizy)
    }

    func onRecommendedSize(_ productId: String?, data: SaveRecommendResponse?) {
        // do something
    }
}
Visual Customization of the button
You can customize the icon that appears on the button by specifying the icon parameter in UsizyButtonConfiguration, you can also configure the initial text to be displayed and its color.
        let config = UsizyButtonConfiguration()
        config.productId = "<PRODUCT_ID>"
        config.iconResName = "ic_usizy_btn"
        config.title = "What is my size?"
        config.titleColor = UIColor.green
        btUsizy.initialize(config)
Sample App
To run the example project, clone the repo, and run pod install from the Example directory first.
Technical Documentation
Access our repository for iOS apps.